Cluster Connection
Kuberniq connects directly to your Kubernetes API servers using the contexts defined in
your kubeconfig file. There are no server-side agents to install, no proxies to configure,
and no cloud accounts to link. If kubectl can reach your cluster, so can Kuberniq.
Kubeconfig Discovery
On startup, Kuberniq reads your kubeconfig from the default path:
- macOS / Linux:
~/.kube/config - Windows:
%USERPROFILE%\.kube\config
If the KUBECONFIG environment variable is set, Kuberniq merges all config files
referenced in the variable (colon-separated on macOS/Linux, semicolon-separated on Windows).
Every context, cluster, and user definition found across those files is available in the app.
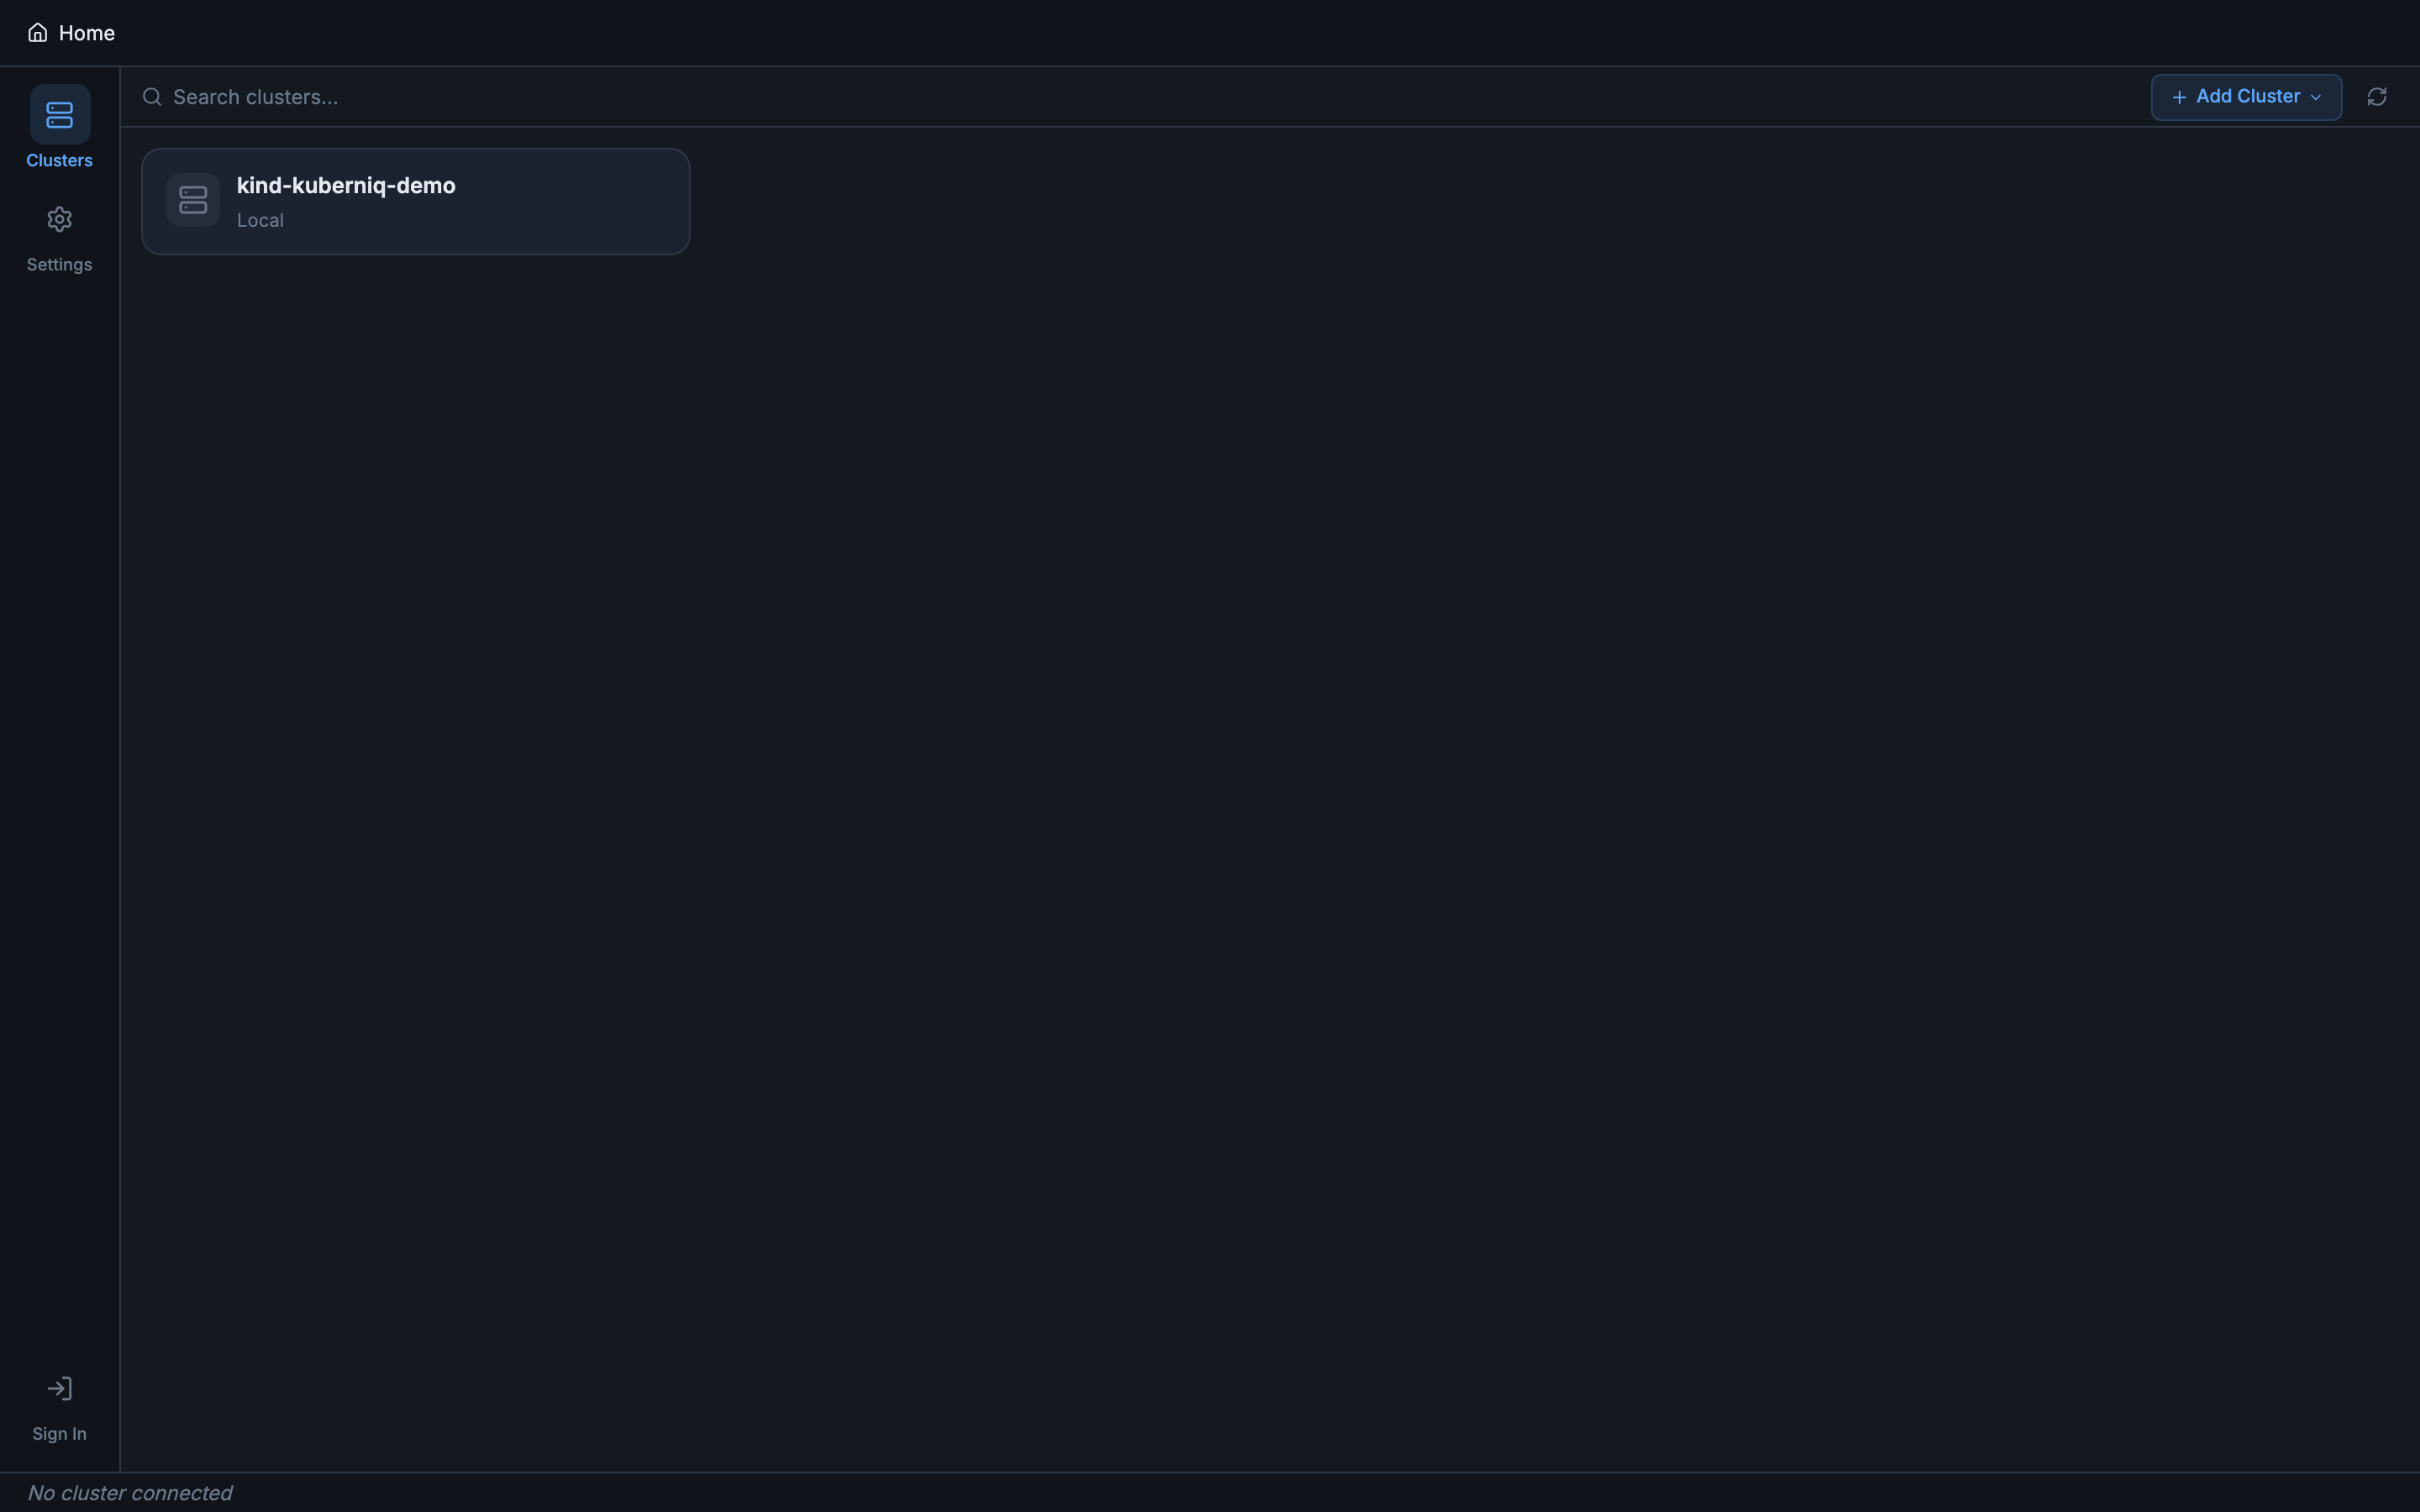
Multi-Cluster Support
Each Kubernetes context from your kubeconfig appears as a selectable entry in the sidebar. When you click a context, Kuberniq opens it in a new browser-style tab at the top of the window. You can have multiple clusters open at the same time and switch between them by clicking their tabs, just like switching between browser tabs.
Each tab maintains its own independent state: the selected namespace, the active resource category, scroll positions, and open detail panels. Switching tabs is instant because cluster data is kept in memory.
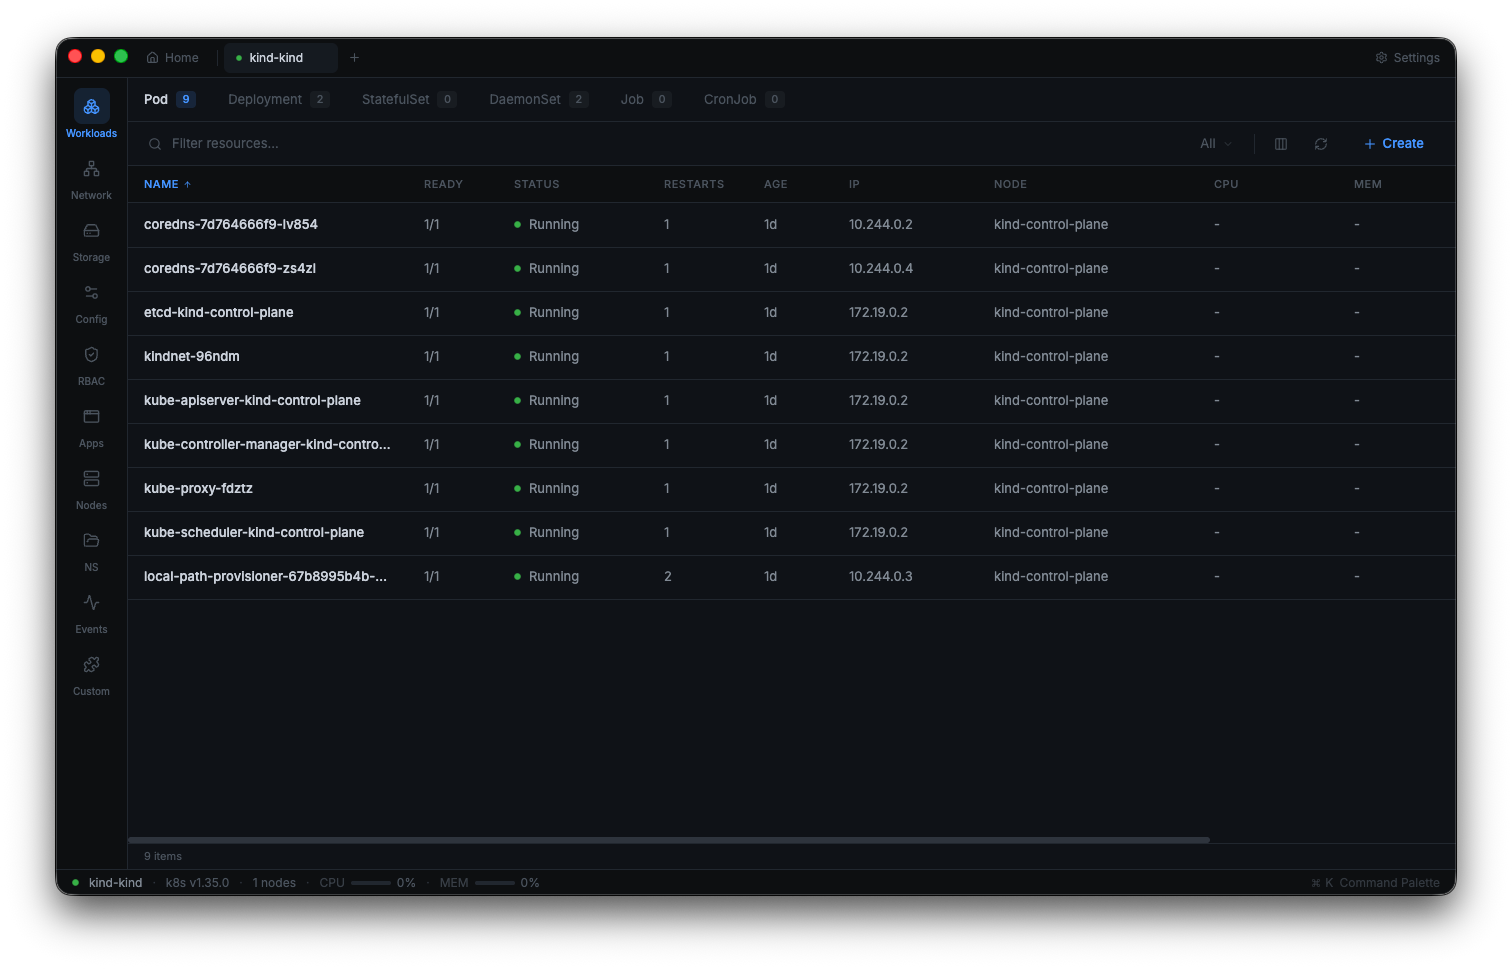
Connection Status
Each cluster tab displays a connection status indicator with three states:
- Connected (green) — The WebSocket connection to the backend is active, and the backend has a healthy connection to the Kubernetes API server.
- Connecting (yellow) — Kuberniq is establishing the connection. This typically takes one to three seconds depending on network latency and authentication method.
- Error (red) — The connection failed. Hover over the indicator to see the error message (e.g., certificate expired, network unreachable, unauthorized).
When connected, the cluster tab also shows the Kubernetes server version (e.g., v1.29.2) and the number of nodes in the cluster, giving you an at-a-glance summary of the environment.
Supported Distributions
Kuberniq works with any Kubernetes distribution that exposes a standard API server. Tested distributions include:
- Cloud managed: Amazon EKS, Google GKE, Azure AKS, DigitalOcean Kubernetes
- Local development: Minikube, Kind, K3s, Docker Desktop Kubernetes
- On-premises: kubeadm, Rancher, OpenShift, Tanzu
Authentication methods supported include client certificates, bearer tokens, OIDC tokens,
exec-based credential plugins (used by EKS and GKE), and basic auth. Kuberniq delegates
authentication to the @kubernetes/client-node library, which handles the same
auth mechanisms as kubectl.
Namespace Filtering
At the top of the resource panel, a namespace selector lets you filter resources by namespace. You can choose:
- All Namespaces — View resources across every namespace in the cluster. Each resource row displays a colored namespace badge for easy identification.
- A specific namespace — Filter the view to show only resources in that namespace. The list is populated from the namespaces available in the cluster.
The namespace selection is persisted per cluster tab, so switching between tabs restores the previously selected namespace for each cluster.
No Server-Side Agents
Kuberniq connects directly from the desktop application to your Kubernetes API server. The built-in backend process runs locally on your machine and uses your kubeconfig credentials to authenticate. There is nothing to install inside your clusters, no sidecar containers, no DaemonSets, and no CRDs. This means:
- No additional attack surface in your clusters
- No ongoing maintenance of in-cluster components
- Works immediately with any cluster your kubeconfig can reach
- No data leaves your machine except direct API calls to your clusters