Getting Started
This guide walks you through downloading Kuberniq, installing it on your platform, and connecting to your first Kubernetes cluster.
Download
Kuberniq is available as a native desktop application for macOS, Windows, and Linux.
macOS
Open the .dmg file and drag Kuberniq into your Applications folder.
On first launch, macOS may prompt you to confirm opening an app from an identified developer.
Windows
Run the installer. Kuberniq uses the Squirrel framework, so it installs to your user profile and does not require administrator privileges. A desktop shortcut is created automatically.
Linux
- Download .deb x64 (Ubuntu, Debian)
- Download .deb ARM64 (Ubuntu, Debian)
- Download .rpm x64 (Fedora, RHEL, openSUSE)
- Download .rpm ARM64 (Fedora, RHEL, openSUSE)
Install with your package manager:
# Debian / Ubuntu
sudo dpkg -i kuberniq_*.deb

# Fedora / RHEL
sudo rpm -i kuberniq-*.rpm
Terminal Install
You can also install Kuberniq from your terminal with a single command.
macOS and Linux
curl -fsSL https://kuberniq.dev/install.sh | bash
The script detects your operating system and architecture, downloads the latest release,
and installs it to the appropriate location. On macOS, it copies the app to
/Applications. On Linux, it installs the .deb or .rpm
package depending on your distribution.
Windows (PowerShell)
irm https://kuberniq.dev/install.ps1 | iexRun this command in an elevated PowerShell prompt. The script downloads and runs the Squirrel installer, which places Kuberniq in your user profile.
First Launch
When you open Kuberniq for the first time, it automatically reads your kubeconfig file from the default path:
- macOS / Linux:
~/.kube/config - Windows:
%USERPROFILE%\.kube\config
If the KUBECONFIG environment variable is set, Kuberniq respects it and merges
all referenced config files. Every context defined in your kubeconfig appears in the sidebar
immediately — no additional setup required.
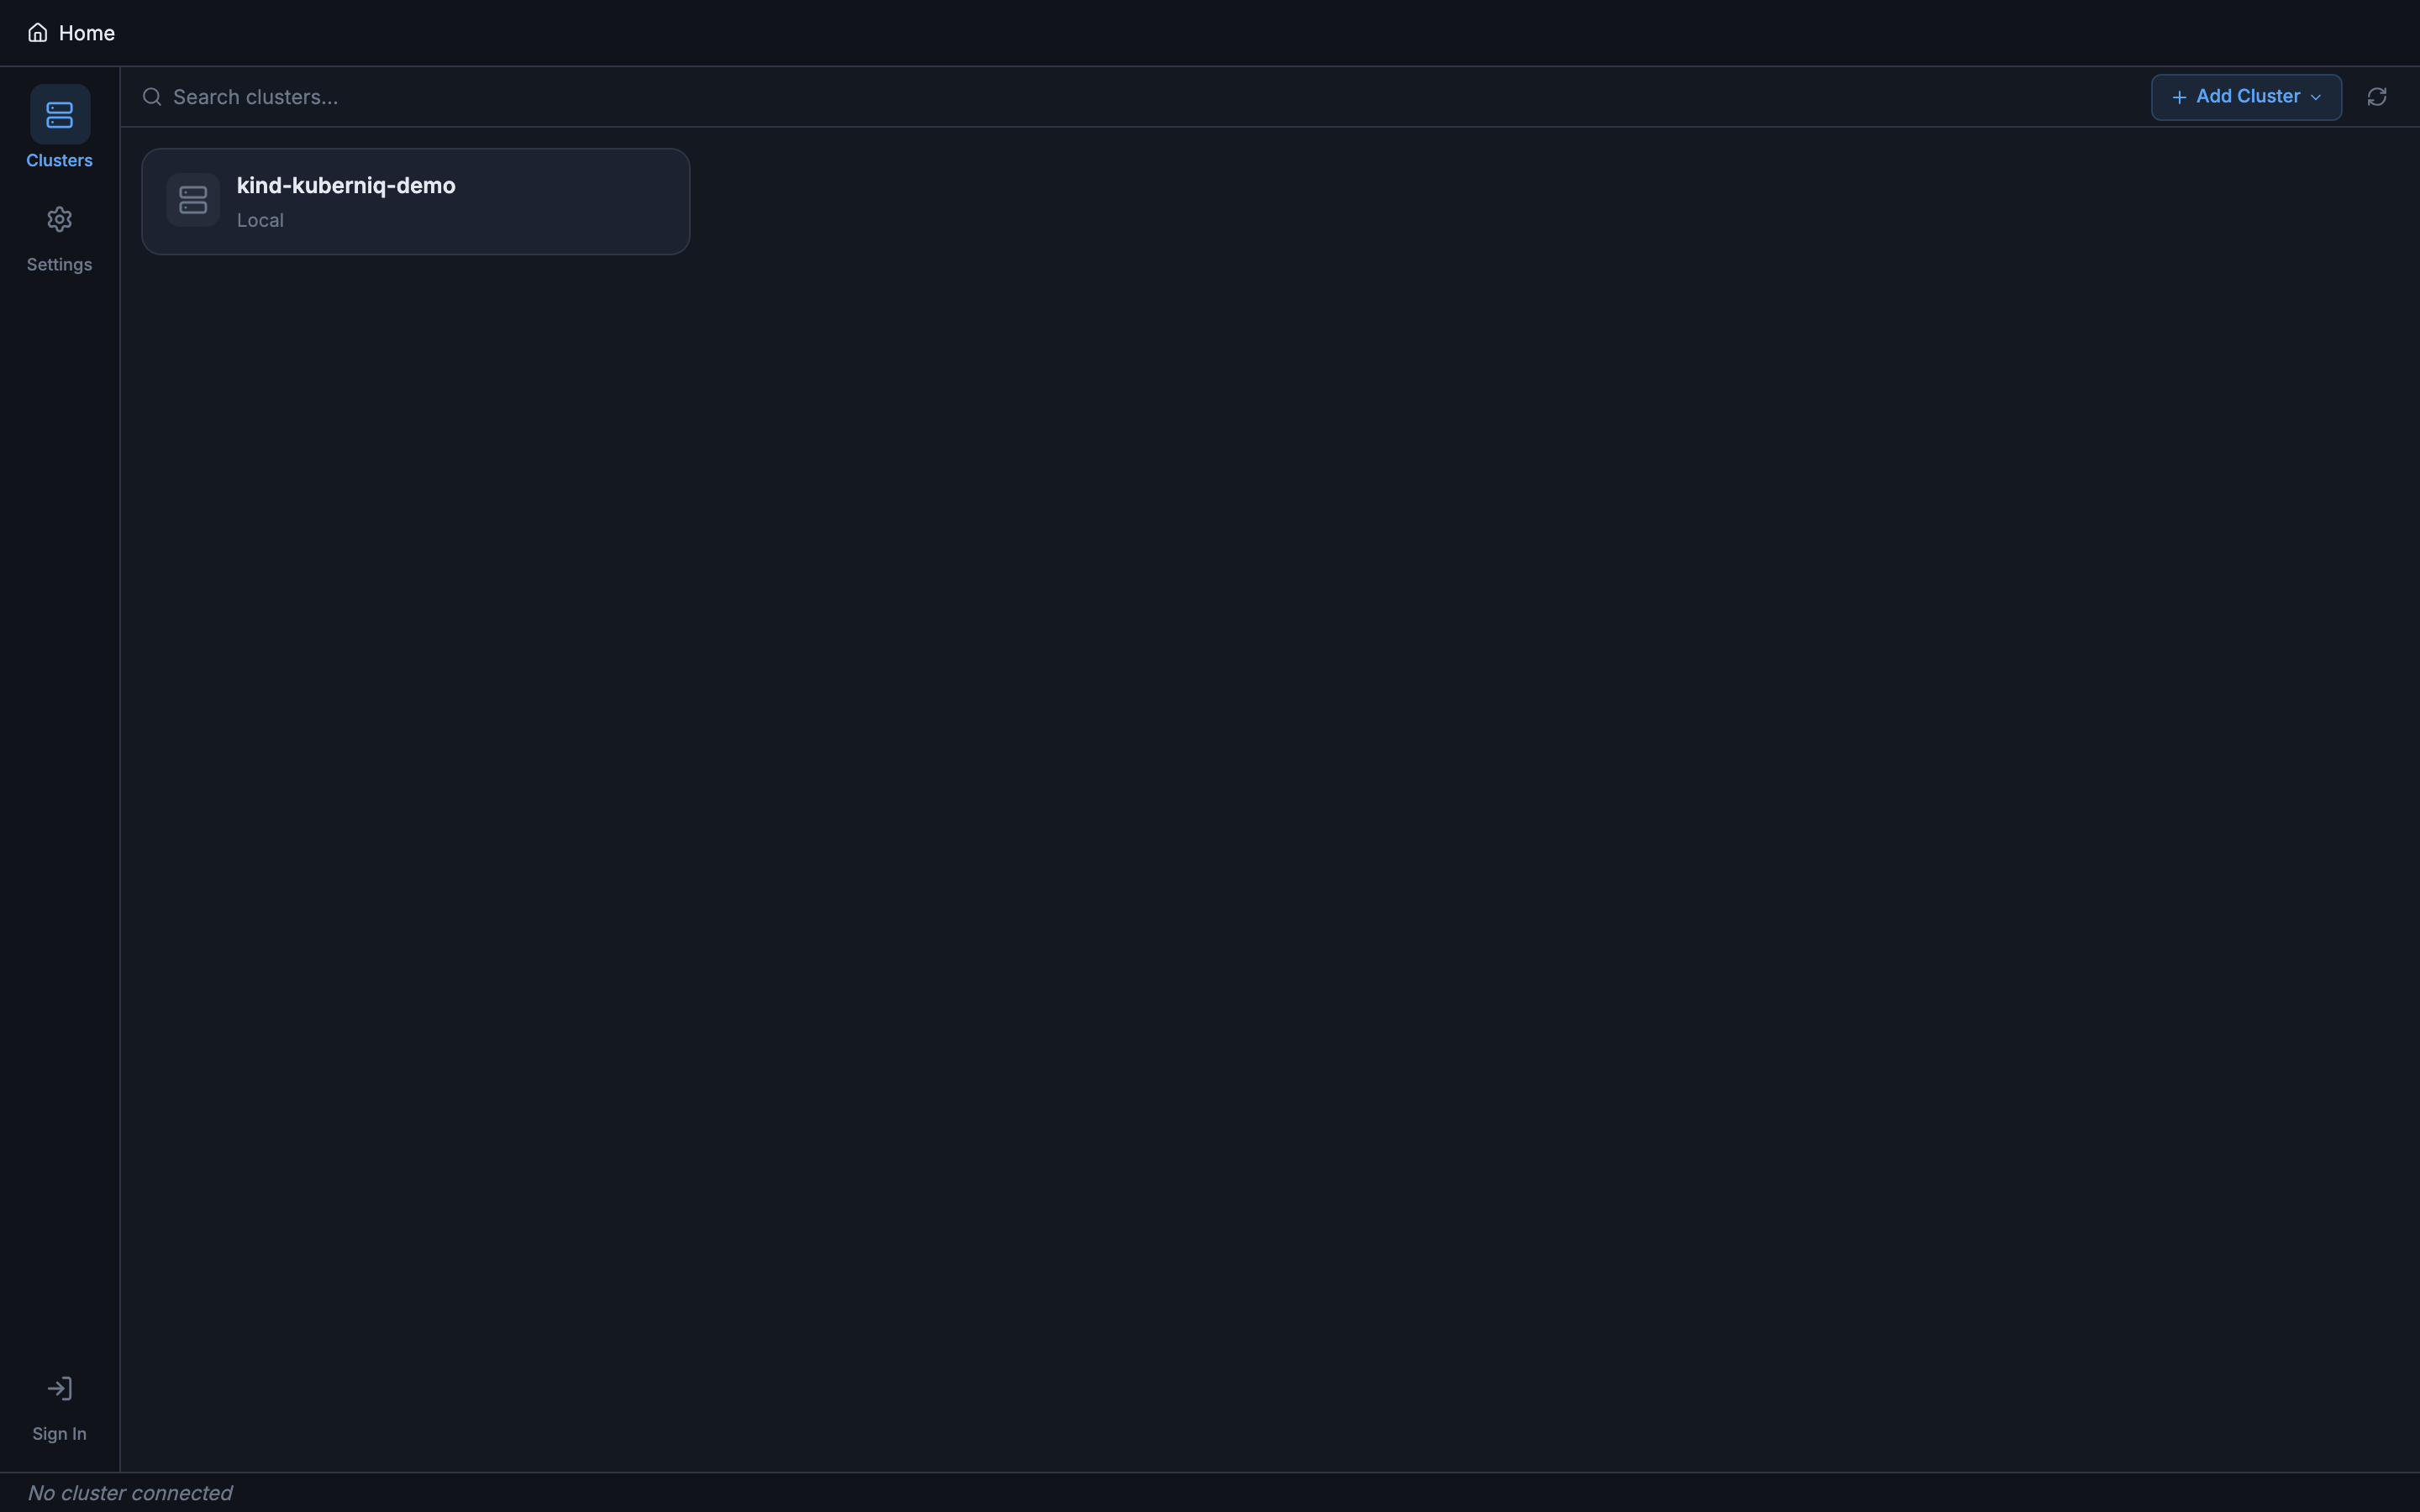
Connect to a Cluster
- Select a context. In the sidebar, you will see a list of all Kubernetes contexts from your kubeconfig. Click on any context to initiate a connection.
- Wait for connection. Kuberniq establishes a WebSocket connection to its built-in backend process, which then connects to the Kubernetes API server. The connection status indicator turns green when the cluster is ready.
- Explore resources. Once connected, the sidebar populates with resource categories. Click any category to view its resources in the main panel.
Each connected cluster opens in its own browser-style tab, so you can work with multiple clusters simultaneously by clicking different contexts.

Navigate Resources
The sidebar organizes Kubernetes resources into intuitive categories:
- Workloads — Pods, Deployments, StatefulSets, DaemonSets, Jobs, CronJobs
- Helm — Helm releases and chart catalog
- Network — Services, Ingresses, NetworkPolicies
- Config — ConfigMaps, Secrets
- Storage — PersistentVolumeClaims, PersistentVolumes, StorageClasses
- Apps — HPA, ReplicaSet, PDB, ResourceQuota, LimitRange
- Cluster — Nodes, Namespaces
- RBAC — Roles, ClusterRoles, RoleBindings, ClusterRoleBindings, ServiceAccounts
- Events — Cluster-wide event stream
Click any resource category to see a sortable table of resources. Click a row to open the detail panel with tabs for Overview, Logs, Terminal, Metrics, Events, Graph, and more (where applicable).
Auto-Updates
Kuberniq checks for updates automatically on launch. When a new version is available, a notification appears with the option to download and install it. The update is applied the next time you restart the application. You can also check for updates manually from the application menu.